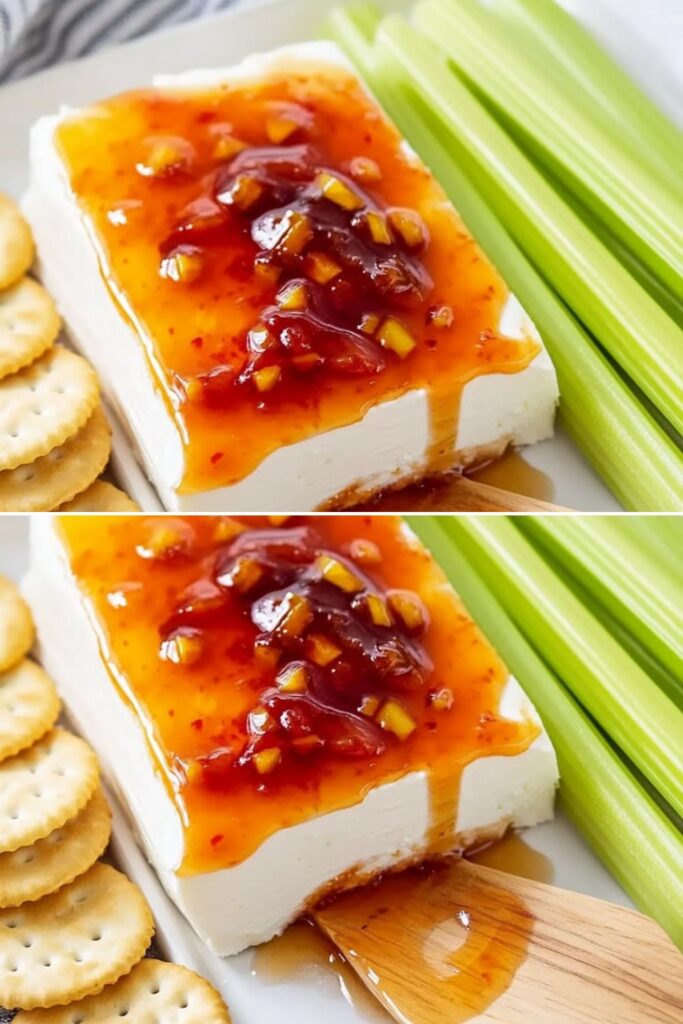
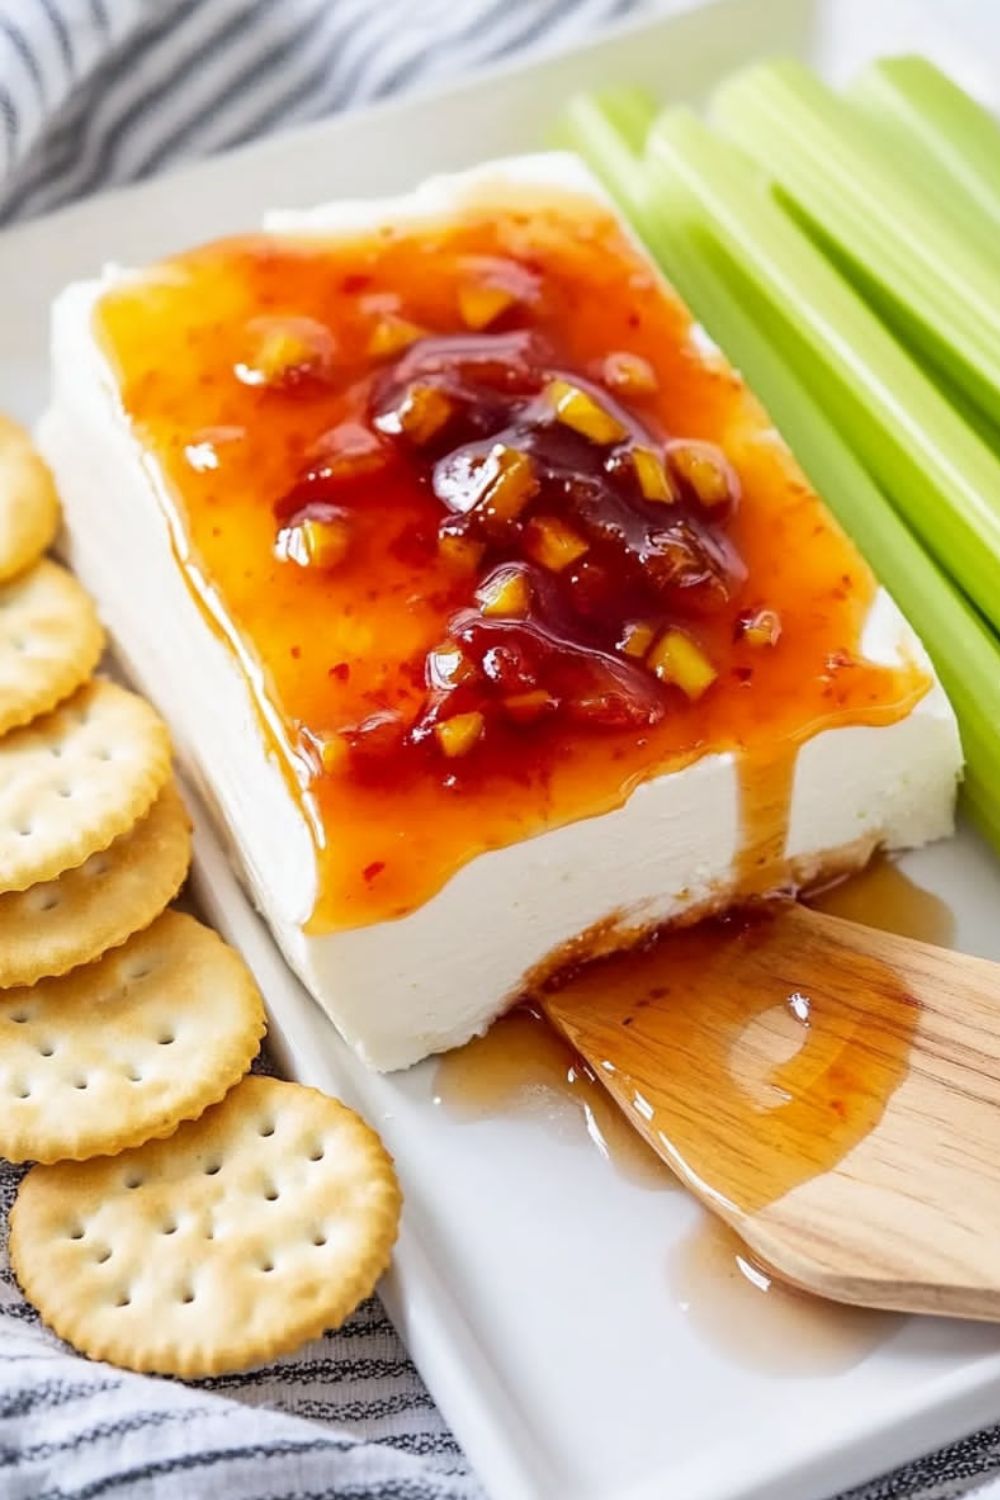
This delicious Hot Pepper Jelly is a quick and simple treat that adds a sweet and spicy kick to any meal. Made with fresh bell peppers and jalapeños, it’s perfect for serving with cheese, crackers, or as a unique gift. Plus, you can adjust the heat level to suit your taste!
Ingredients Needed
- 2 ½ cups finely chopped red bell peppers
- 1 ¼ cups finely chopped green bell peppers
- ¼ cup finely chopped jalapeño peppers
- 1 cup apple cider vinegar
- 1 (1.75-ounce) package powdered pectin
- 5 cups white sugar
How To Make Hot Pepper Jelly
- Sterilize the Jars: Sterilize six 8-ounce canning jars and lids according to the manufacturer’s instructions. Heat water in a hot water canner.
- Prepare the Mixture: In a large saucepan, combine the red bell peppers, green bell peppers, jalapeño peppers, apple cider vinegar, and powdered pectin. Stir the mixture over high heat until everything is well mixed.
- Bring to a Boil: Bring the mixture to a rolling boil while stirring constantly. Add the sugar and stir until dissolved. Bring back to a rolling boil for 1 minute, then remove from heat. Skim off any foam from the top.
- Jar the Jelly: Carefully ladle the jelly into the sterilized jars, leaving about ¼ inch from the top. Cover with the lids and screw on the rings tightly.
- Process the Jars: Place the jars into the hot water canner, ensuring the water covers the jars completely. Bring the water to a boil, then cover the canner and process the jars for 5 minutes.
- Cool and Serve: Carefully remove the jars from the canner and let them cool. Once cool, your hot pepper jelly is ready to serve and enjoy!

Recipe Tips
- Use Fresh Ingredients: For the best flavor, use fresh, ripe bell peppers and jalapeños. Avoid overripe peppers as they can affect the taste and texture of the jelly.
- Adjust the Heat Level: If you prefer a milder jelly, use less jalapeño or remove the seeds before chopping. For more heat, leave the seeds in or add extra jalapeños.
- Skim the Foam: Skimming off the foam from the top after boiling helps ensure your jelly has a smooth, clear texture and avoids an unpleasant cloudy appearance.
- Don’t Skip the Boiling Step: The jelly must reach a rolling boil and be boiled for 1 minute. This step helps the jelly set properly and gives it the right texture.
- Check the Seal: After canning, make sure the jars seal properly by pressing the center of the lid. If it pops back, the jar didn’t seal, and you’ll need to process it again.
How To Store & Reheat Leftovers
- Refrigerate: Store leftovers hot pepper jelly in an airtight container or jar for up to 3 weeks.
- Freeze: You can freeze leftovers hot pepper jelly for up to 6 months. Let it cool, then transfer to a freezer-safe container. Thaw it in the fridge before using.
- Reheating: To reheat leftovers hot pepper jelly, place it in a saucepan over low heat for 5-10 minutes, stirring occasionally, until warmed through. Alternatively, microwave it in a microwave-safe container for 20-30 seconds, stirring halfway through.
More Recipes:

Hot Pepper Jelly
Description
This delicious Hot Pepper Jelly is a quick and simple treat that adds a sweet and spicy kick to any meal. Made with fresh bell peppers and jalapeños, it’s perfect for serving with cheese, crackers, or as a unique gift. Plus, you can adjust the heat level to suit your taste!
Ingredients
Instructions
- Sterilize the Jars: Sterilize six 8-ounce canning jars and lids according to the manufacturer’s instructions. Heat water in a hot water canner.
- Prepare the Mixture: In a large saucepan, combine the red bell peppers, green bell peppers, jalapeño peppers, apple cider vinegar, and powdered pectin. Stir the mixture over high heat until everything is well mixed.
- Bring to a Boil: Bring the mixture to a rolling boil while stirring constantly. Add the sugar and stir until dissolved. Bring back to a rolling boil for 1 minute, then remove from heat. Skim off any foam from the top.
- Jar the Jelly: Carefully ladle the jelly into the sterilized jars, leaving about ¼ inch from the top. Cover with the lids and screw on the rings tightly.
- Process the Jars: Place the jars into the hot water canner, ensuring the water covers the jars completely. Bring the water to a boil, then cover the canner and process the jars for 5 minutes.
- Cool and Serve: Carefully remove the jars from the canner and let them cool. Once cool, your hot pepper jelly is ready to serve and enjoy!
Notes
- Use Fresh Ingredients: For the best flavor, use fresh, ripe bell peppers and jalapeños. Avoid overripe peppers as they can affect the taste and texture of the jelly.
- Adjust the Heat Level: If you prefer a milder jelly, use less jalapeño or remove the seeds before chopping. For more heat, leave the seeds in or add extra jalapeños.
- Skim the Foam: Skimming off the foam from the top after boiling helps ensure your jelly has a smooth, clear texture and avoids an unpleasant cloudy appearance.
- Don’t Skip the Boiling Step: The jelly must reach a rolling boil and be boiled for 1 minute. This step helps the jelly set properly and gives it the right texture.
- Check the Seal: After canning, make sure the jars seal properly by pressing the center of the lid. If it pops back, the jar didn’t seal, and you’ll need to process it again.
Hot Pepper Jelly
